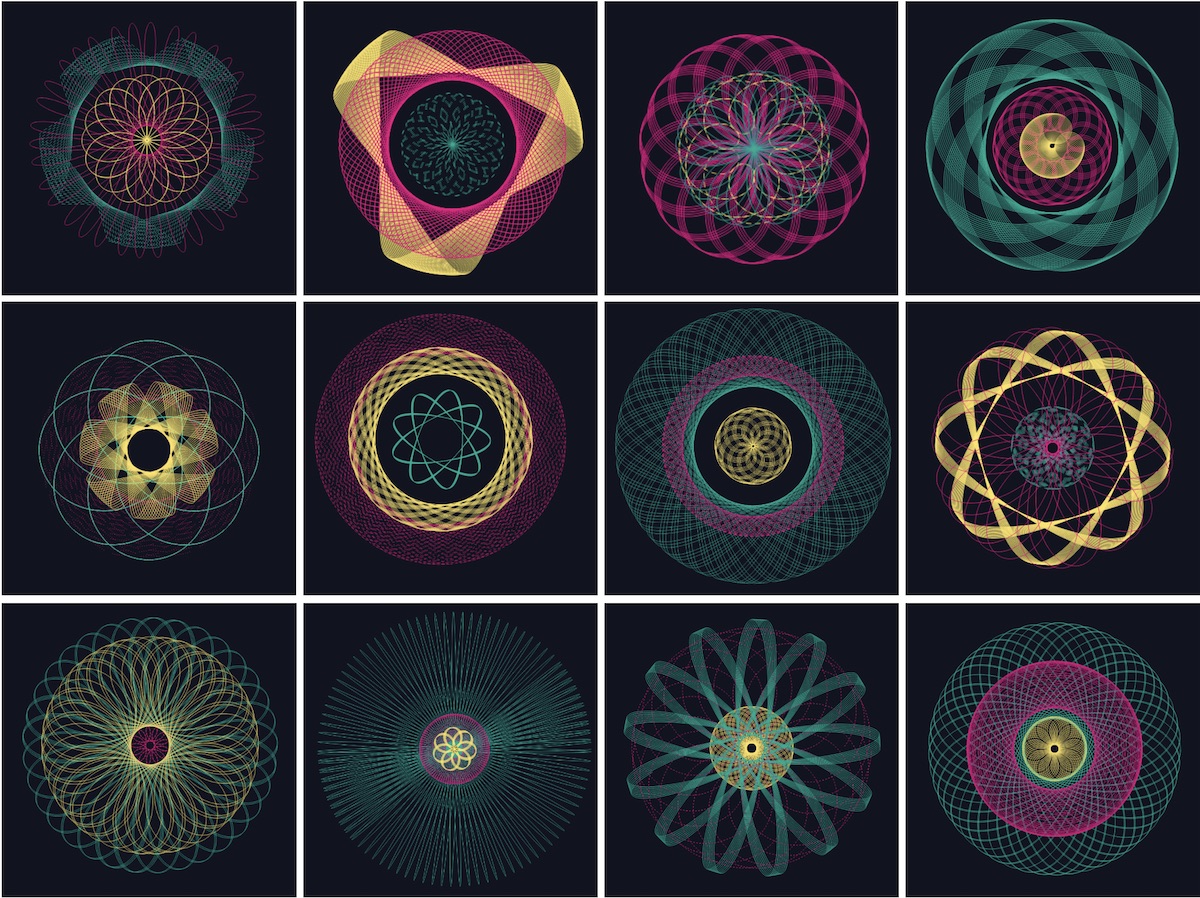
In this blog I’ll explain how to animate both solid and dashed lines. To make things slightly less boring, I’ve created a spirograph drawing app for the examples. It came about because last week I wanted to animate a dashed line in a chart. Trying to use the technique I always apply for solid animated lines I suddenly found out that animating a dashed line isn’t trivial. It’s because of the fact that an animated solid line is, secretly, a dashed line, but I’ll go into that later.
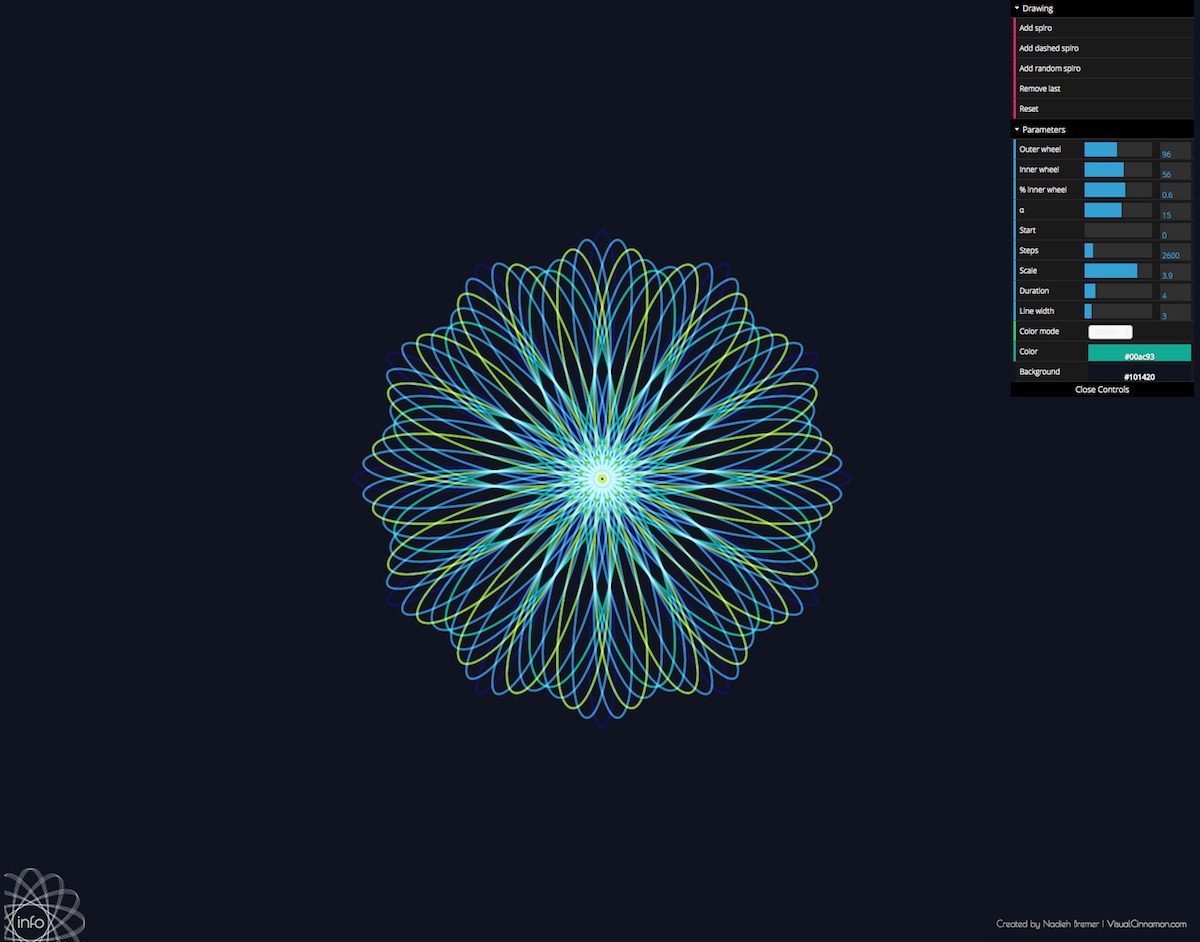
A spirograph machine
The code for the spirograph calculation itself I adjusted from this HTML5 demo by alpha2k. The color palette comes from a vector collection I had on my laptop from Dukepope / Freepik because it looked amazing.
For the fun part. In the interactive example below you can create a whole collection of solid or dashed spirographs, because who doesn’t like spirographs right? The shape of the spirograph is random and the optional dash pattern is random as well. You can use the slider to make the animation go faster by sliding to the left. Or slower when you slide to the right (see it as number of seconds of the animation, left is low, right is high). Remove all the spirographs to start anew by pressing reset.
Adjust the duration of the next Spirograph you draw (left: faster | right: slower)
Animating a solid line
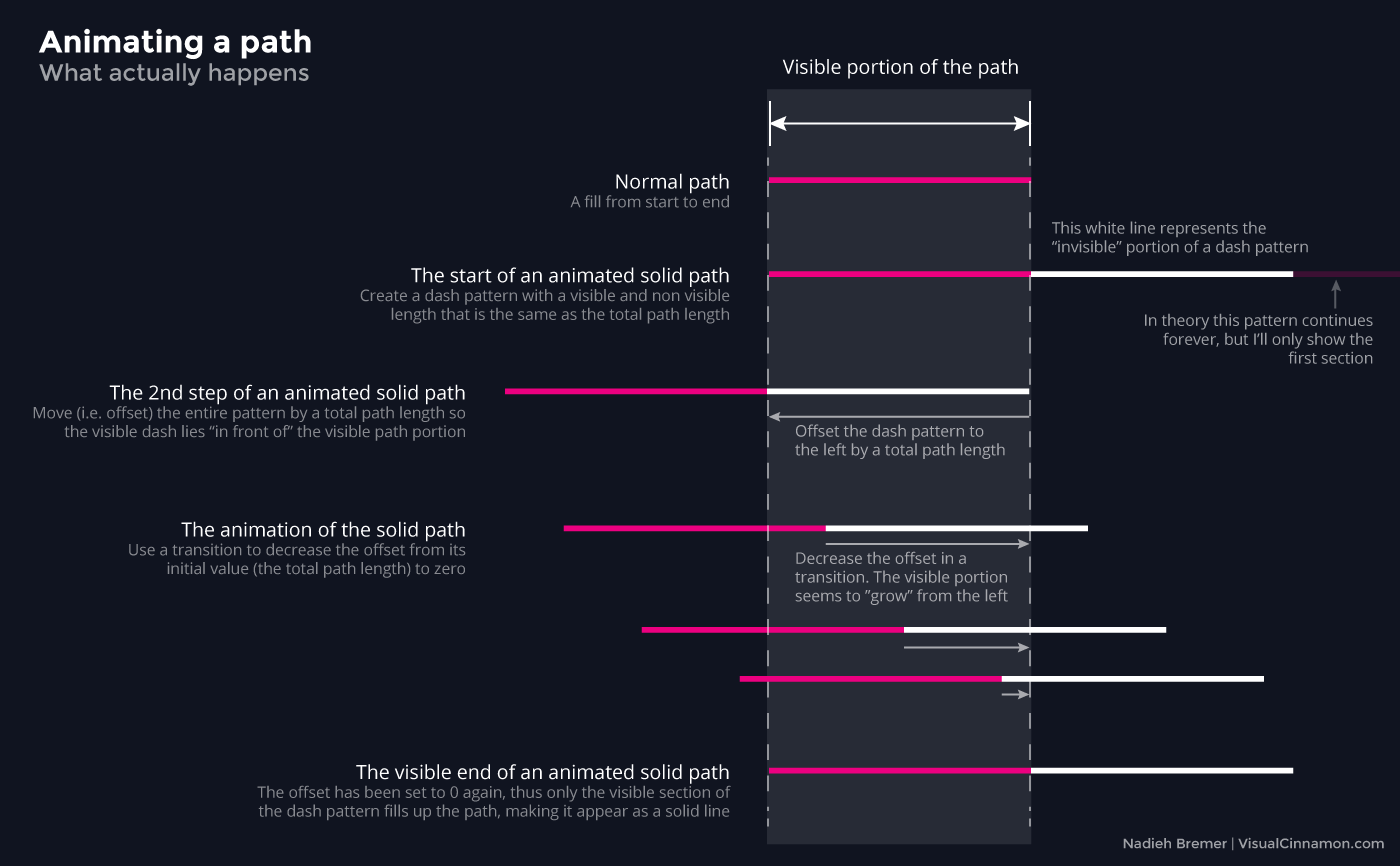
To understand why drawing an animated dashed line isn’t as easy as you might think, I first need to explain how to create an animated solid line. It actually feels more like a hack than anything proper. Below you can see an image in which I try to explain it with small (though static) examples.
I’ll stick to simple dashes, but you can create very complex dash patterns as well, see some examples here.
What you actually do is turn the solid line into a dashed line… First, make both the visible dash and the invisible part as large as the total path length. This dash pattern can be set with the stroke-dasharray attribute. In general you give it two numbers, say 6,6. The first gives the length of the visible dash portion and the second number is the length of the invisible portion. But in this case, for a path that is 60px wide, the stroke-dasharray attribute would have to become 60,60.
Next you move the whole dash pattern to the left by a total path length. This will make it appear as if the entire path is filled by the invisible section of the dash pattern. Such an offset of the dash pattern is set by the stroke-dashoffset attribute. In our simple example from above, it would be set to 60.
All that needs to happen now is decreasing this offset back to zero through a transition. While the entire patterns is moved to the right, it will appear as if a solid line is growing from the starting portion of the path. Once the offset is back to zero, all that remains is the visible part of the dashed pattern, making it appear as a normal solid line.
Applying the above idea in d3.js would create the following code
//Set up your path as normal
var path = svg.append("path")
    .attr("class", "spirograph")
    .attr("d", line(plotSpiroGraph()));

//Get the total length of the path
var totalLength = path.node().getTotalLength();

//Animate the path by offsetting the path so all
//you see is the white last bit of the dash pattern
//(which has a length that is the same as the length
//of the entire path), and then slowly move the offset
//to zero (i.e. out of the way) so the rest of the path becomes visible
//(the visible stuff at the start of the dash pattern)
path
    .attr("stroke-dasharray", totalLength + " " + totalLength)
    .attr("stroke-dashoffset", totalLength)
    .transition().duration(3000).ease("linear")
    .attr("stroke-dashoffset", 0);
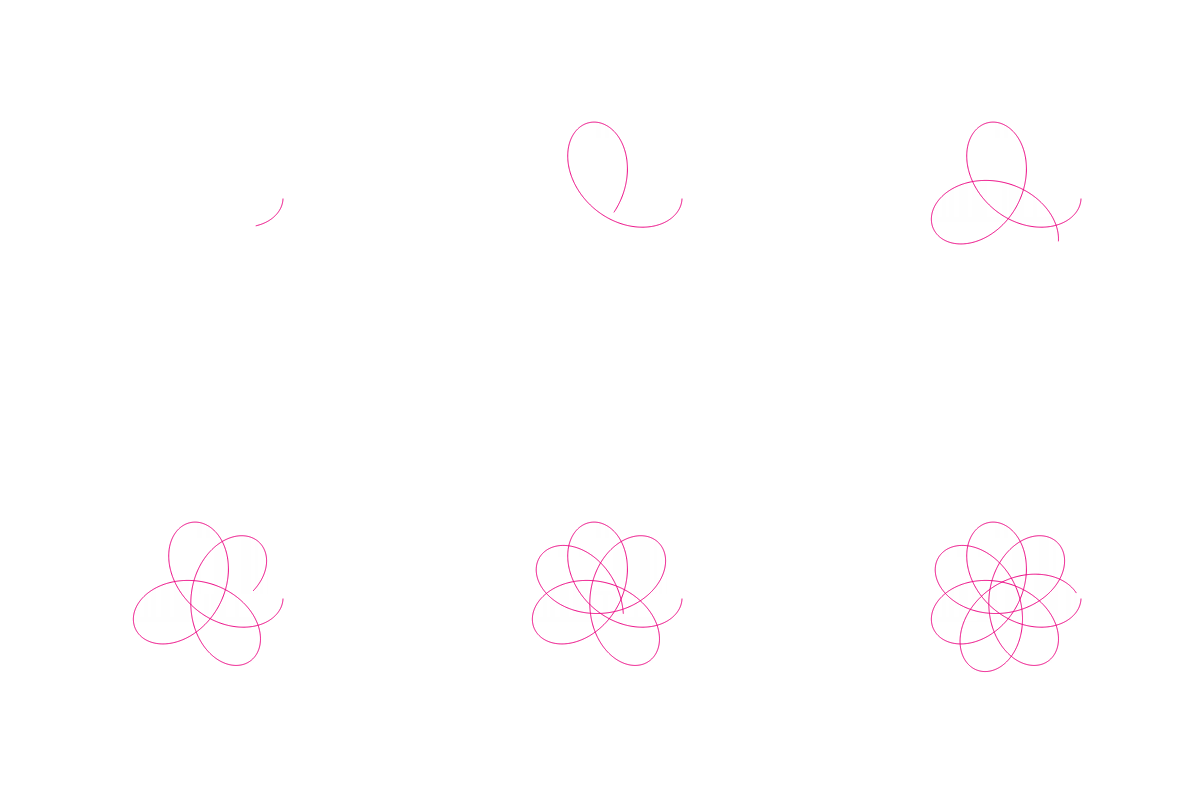
While using a very long duration, this could look as follows
Animating a dashed line
Perhaps you’ve already noticed, but the attribute of stroke-dasharray is being used to animate a path in general. So whatever you might have set for your dashed line in the CSS, it will be overwritten once the animation starts and you will be left with a solid line.
The solution is to create a new complex dash pattern from the original pattern that spans the length of the entire path (and some more), imitating the simpler dash pattern. I again tried to create a visual (though static) companion to the explanation in the image below. Say you have a path that is 60px long and you want it to fill with a dash pattern of 6, 6, thus 6 pixels of color and then 6 pixels of transparency. To animate this, we extend this simple dash pattern to fill up the entire path. One step of the simple pattern has a length of 12 (= 6 + 6), so we need 60 / 12 = 5 of these simple patterns to fill up the path. The first part of our new more complex pattern becomes 6, 6, 6, 6, 6, 6, 6, 6, 6, 6. Each odd number gives the length of the visible part of the dash pattern and each even number the invisible part.
Now we can practically continue as if it was a solid line, where we ended the pattern with an invisible part that spans the length of the entire path. In this case, this means adding one more dash combination (two numbers), where the first is 0px, since we don’t want a visible part. And the last is 60px for the invisible part, the length of the path. The eventual new pattern for animation has thus become: 6, 6, 6, 6, 6, 6, 6, 6, 6, 6, 0, 60.
Remember, one complete instance of this new pattern is twice as long as the path itself (just like in the solid line case). With this formula for the new pattern, we can continue as before by offsetting the pattern to the left so only the invisible part can be seen and then decreasing this offset to zero in a transition so that it seems as if the line (now dashed) is growing from the left.
I figured this out through this stackoverflow question and most of the code for creating the new more complex dash pattern is based on one of the answers found in the link.
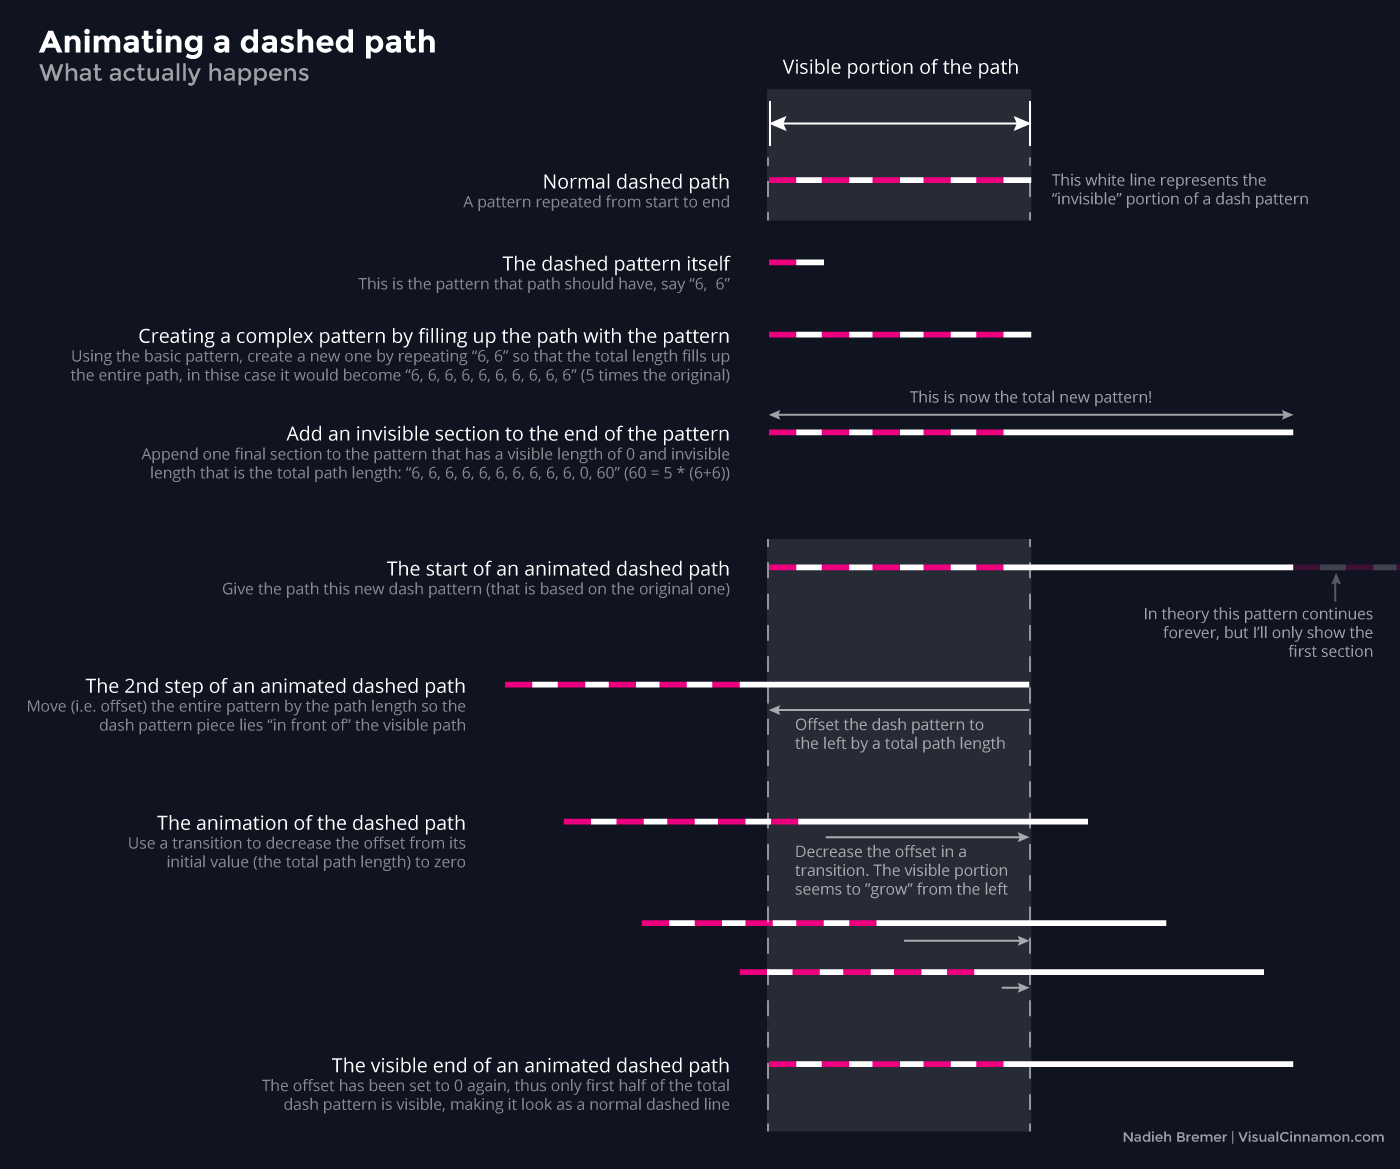
To do this in d3 involves a creating few extra variables compared to the solid line version. As explained above, we first set the dash-array that we want (in this case 6,6). Then we need to see how long this is (dashLength, in this case quite easy, namely 12, but the code is ready for more complex patterns). With this length we can figure out how often it fits into the entire path (dashCount). Next create a new string (newDashes) that duplicates the original pattern by dashCount (i.e. how often it fits into the path). Finally the last dash section is added with a visible length of 0 and an invisible length that is the same as the entire path length (dashArray). Afterwards, we can use this new dash pattern in the same way as if we were animating a solid line.
In the code below, the lines in between the /////// are new and the rest is practically the same as the solid line case. And all that the code in between the /////// does, is calculate the variable dashArray.
//Set up your path as normal
var path = svg.append("path")
    .attr("class", "spirograph")
    .attr("d", line(plotSpiroGraph()) );

//Get the total length of the path
var totalLength = path.node().getTotalLength();

/////// Create the required stroke-dasharray to animate a dashed pattern ///////

//Create a (random) dash pattern
//The first number specifies the length of the visible part, the dash
//The second number specifies the length of the invisible part
var dashing = "6, 6"

//This returns the length of adding all of the numbers in dashing
//(the length of one pattern in essence)
//So for "6,6", for example, that would return 6+6 = 12
var dashLength =
    dashing
        .split(/[\s,]/)
        .map(function (a) { return parseFloat(a) || 0 })
        .reduce(function (a, b) { return a + b });

//How many of these dash patterns will fit inside the entire path?
var dashCount = Math.ceil( totalLength / dashLength );

//Create an array that holds the pattern as often
//so it will fill the entire path
var newDashes = new Array(dashCount).join( dashing + " " );
//Then add one more dash pattern, namely with a visible part
//of length 0 (so nothing) and a white part
//that is the same length as the entire path
var dashArray = newDashes + " 0, " + totalLength;

/////// END ///////

//Now offset the entire dash pattern, so only the last white section is
//visible and then decrease this offset in a transition to show the dashes
path
    .attr("stroke-dashoffset", totalLength)
    //This is where it differs with the solid line example
    .attr("stroke-dasharray", dashArray)
    .transition().duration(3000).ease("linear")
    .attr("stroke-dashoffset", 0);
While using a very long duration, it could look like this

The code
Have fun with the spirograph drawer and animating your own solid and dashed lines. I’d love to see screenshots of whatever fate throws on your screen if you think it looks wonderful! You can find the code for the spirograph drawer here. And finally, here are some fun results that I’ve gotten
